Idols of Ash Advanced Tips & Tricks
Techniques that separate players who get stuck in the mid-section from players who clear the game. Most of these are things you figure out after dying a dozen times -- or you can just read them here.
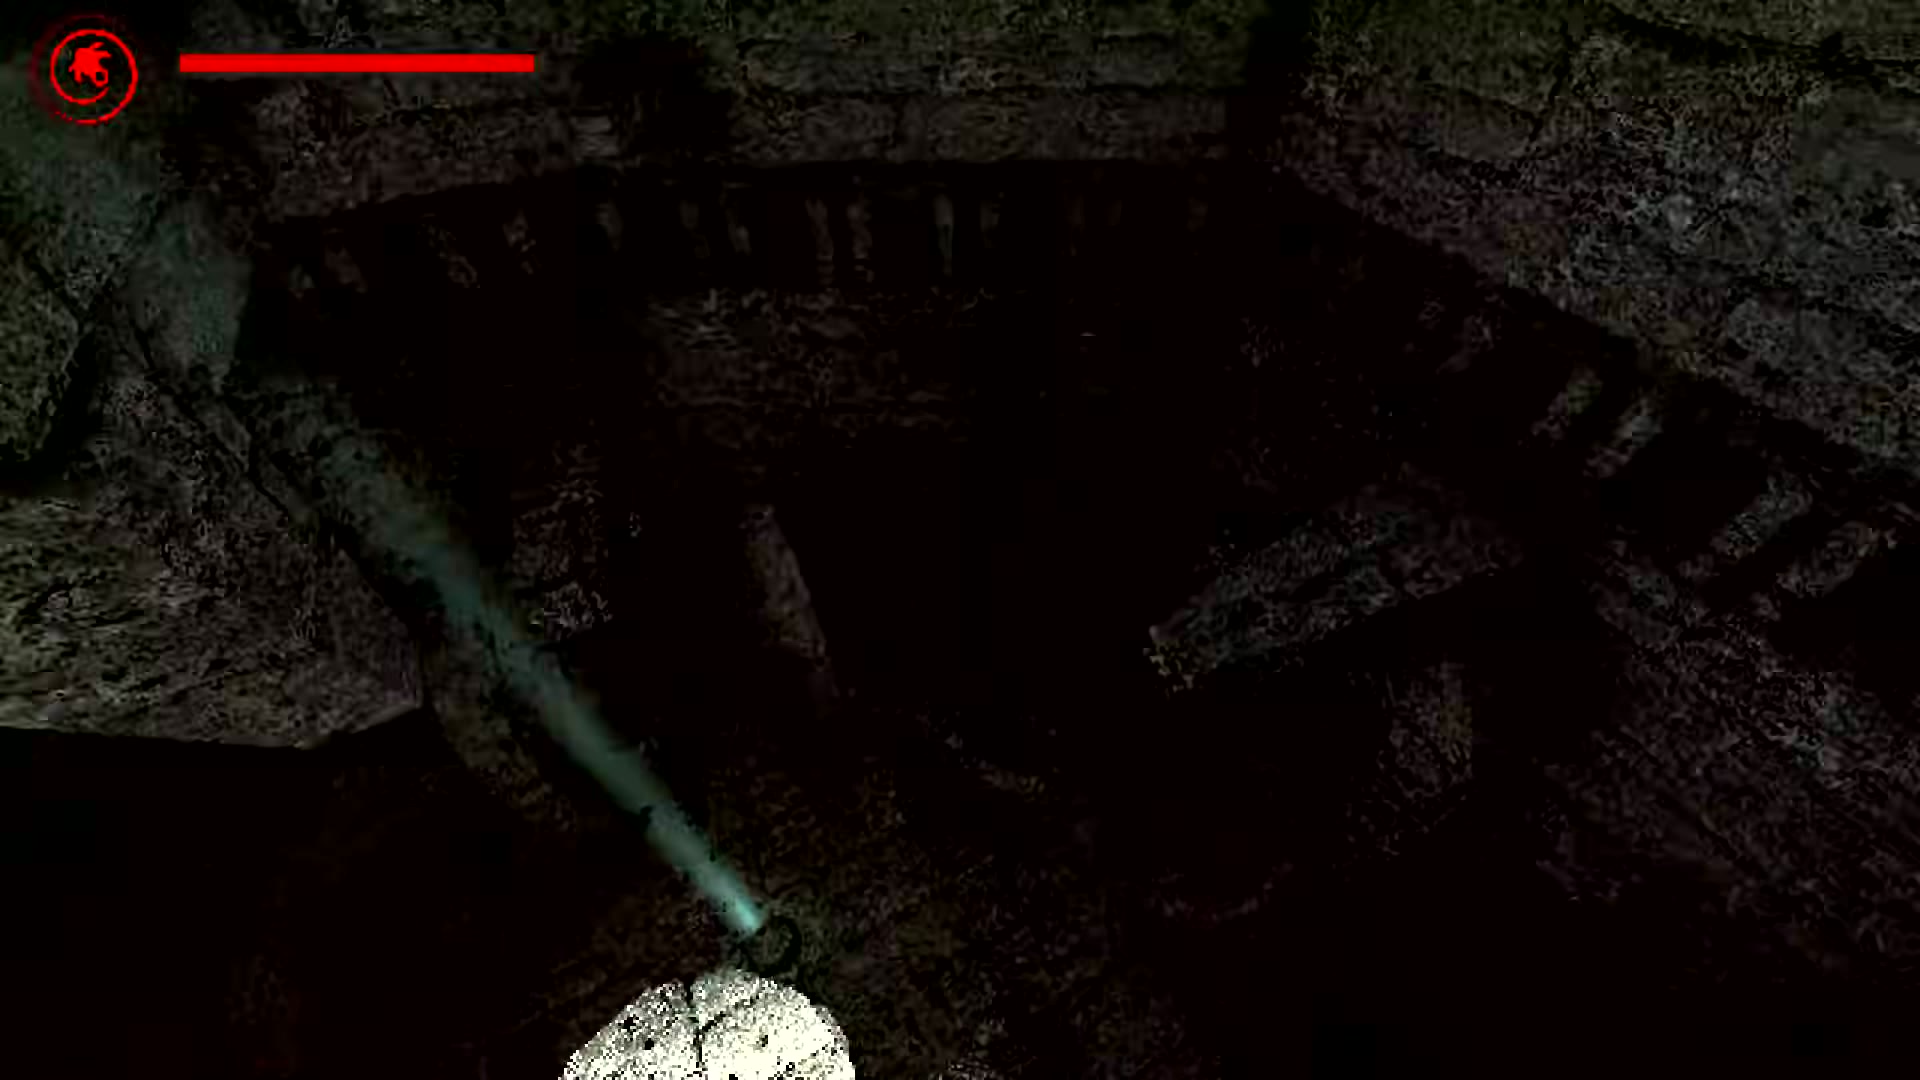
The upper ruins offer plenty of grapple points on plant-covered walls. Later sections are not this generous.
The Fall-Save Technique
This is the single most important skill in the entire game. If you learn nothing else from this page, learn this:
When you are falling and about to die, fire your grappling hook at any surface and immediately hold Shift. This catches you on the rope and reels you upward, stopping the fall. It does not matter if the angle is awkward or the anchor point is bad -- catching yourself on anything beats hitting the ground.
The timing window is more forgiving than you think. You do not need to fire the hook the instant you start falling. You have time to look around, pick a surface, aim, and fire. The mistake most players make is panicking and shooting wildly at the ceiling, which misses because the hook has a range limit. Instead, look for the nearest wall or plant growth at your current height level and aim there.
Practice the fall-save deliberately in the upper section where Kilns are plentiful. Jump off a platform, wait a beat, then fire the hook and hold Shift. Do it ten times until it becomes muscle memory. In the deep sections where checkpoints disappear, this reflex will save your run.
The "Fall Forward" Speed Start
Speedrunners use this to maximize their initial velocity at the start of a descent or after any pause. Hold a movement direction key (usually W or S depending on which way you are heading) and tap Ctrl at the same time as you step off a ledge. The simultaneous input gives you a faster initial drop speed than just walking off the edge normally.
This is not a huge difference in isolation, maybe 10-15% more speed on the initial fall. But it adds up over an entire run, and it gets you past the slow "floating" phase at the top of a fall where you are an easy target for the Murderpede. In Nightmare Mode, shaving half a second off every drop matters.
Regular players can use this too. Whenever you are about to drop from a ledge on purpose, hold your direction and tap Ctrl. It becomes automatic after a few times, and the slightly faster start gives you better momentum for whatever grapple sequence comes next.
Pre-Aim Your Next Grapple Point
Before you commit to any movement -- a swing, a drop, a jump -- identify where your next anchor will be. Do not jump first and then look for a surface to hook. That sequence gets you killed in the mid-section and beyond.
The pattern is: look ahead, find the plant growth or rocky outcropping you will hook next, aim toward it, then move. When you arrive at the end of your swing, you are already pointed at the right surface. Fire, catch, swing again. It should feel like a rhythm, not a series of panic grabs.
Good players spend more time looking than moving. If you watch someone who has cleared the game do a full run, you will notice they pause for a fraction of a second before every major swing. That pause is them confirming the next anchor point exists.
If you cannot see a grapple point from where you are standing, that is information. It means you are either looking at the wrong section of the wall, or you need to take a different path. Do not blindly drop and hope something appears below.
See these advanced grappling hook techniques in action:
The Murderpede's Upward Weakness
The Murderpede is bad at climbing. This is the most important piece of enemy behavior in the game, and it stays true across all difficulty modes including Nightmare. When the creature is closing in on you, your instinct is to run forward or drop down. Both of those keep you on the creature's strongest axis of movement.
Instead, swing upward. Gain one level of height. The Murderpede slows down dramatically when it has to pursue vertically. Once you are above it, circle around and find a different opening to continue your descent. You lose maybe 15-20 seconds doing this, but you stay alive.
The loop pattern looks like this: descend normally, hear the Murderpede getting close, swing up one level, move laterally until you are past it, then drop back down through a different hole. You end up in the same place you would have been, but the creature is now behind you again.
Narrow corridors limit your options. In tight spaces, going up is often the only safe move.
Reading the Environment
Not every surface works as a grapple point. Learning to read the environment quickly is what makes the difference between smooth runs and constant deaths.
- Plants and vines: Almost always hookable. These are your most reliable anchor points, especially in the upper and mid sections where vegetation is thick. If you see green, you can probably hook it.
- Rocky outcroppings and broken walls: Usually hookable. The rough, textured surfaces tend to catch the hook well. Look for edges that stick out from the main wall.
- Smooth stone walls: Generally not hookable. If a wall surface looks flat and featureless, your hook will bounce off. Do not waste time aiming at smooth surfaces when you are being chased.
- Metal and rusted structures: Hit or miss. Some metal surfaces work, others do not. Test them when you are safe, not when the Murderpede is behind you.
In the dark deep sections, plants glow faintly. This is not just aesthetic -- it is the game telling you where the grapple points are. Follow the glow.
Inner vs. Outer Paths
When the structure branches, you usually have a choice between an inner path (closer to the center of the structure) and an outer path (along the exterior walls). Here is how they differ:
- Inner paths have shorter gaps between grapple points, more surfaces to hook, and less exposure to long vertical drops. They are safer but sometimes slower.
- Outer paths can be faster because they involve longer swings and bigger drops, but they leave you hanging with fewer backup anchor points if you miss a hook. One bad swing on an outer path and you are falling with nothing to grab.
For most players, the inner path is the better choice. The time you save on outer paths is not worth the risk unless you know the route perfectly. Even experienced players default to inner paths on runs where consistency matters -- like Nightmare Mode.
Sound Tracking
Wear headphones. This is not optional advice -- it is a genuine gameplay advantage. The Murderpede's audio is directional and distance-scaled:
- Faint rumble = far away, you are safe to plan your next move
- Audible skittering = it is in your area, keep moving steadily
- Loud, close sounds = it is right behind you, do not stop for anything
The directional component tells you which side the creature is approaching from. This matters because it tells you which direction to swing away from. If the skittering is coming from the left, swing right. If it is below you, stay where you are and let it pass.
In the deep sections where visibility drops, sound becomes your primary awareness tool. You will hear the Murderpede long before you see it. Players who turn off sound effects for music are playing on hard mode without realizing it.

Deep cavern plants glow faintly -- follow the light to find your next grapple point in the darkness.
Health Management
Your HP matters more than you think, especially in sections with sparse checkpoints. Here is how to think about it:
- Embers (blue glowing pickups) restore a portion of your health when collected. They are scattered off the main path, usually requiring a short detour or a risky swing to reach. Whether they are worth grabbing depends on how low your health is and how close the next checkpoint is. At full HP, skip them. Below 50%, they are worth the detour.
- Ash statues (checkpoints) are always more valuable than health pickups. A checkpoint saves your position. An ember just gives you some HP back. If you have to choose between going for an ember or pushing ahead to the next checkpoint, choose the checkpoint every time. Dying with full health and no recent save is worse than reaching a save point at 30% HP.
- Intentional fall damage is a real strategy. In the mid and deep sections, you can sometimes take a deliberate medium-distance fall (10-30% HP loss) to bypass a complicated grapple chain. The time saved and the risk avoided are often worth the health cost, as long as you know where the next restoration point is. Do not do this blind.
Route Selection: Inner, Outer, and Center
The game's branching paths are not just "hard way" and "easy way." Each route type has specific advantages:
- Inner paths keep you close to the structure's core. More walls on both sides means more grapple points to catch yourself with. Shorter gaps between surfaces. These are the safest routes and the best choice when you do not know the layout. The trade-off is that they tend to be slightly longer and give the Murderpede more time to close in.
- Outer paths run along the edges where the structure opens up. Longer swings, bigger drops, fewer safety nets. Miss a grapple on an outer path and you might fall a long way before finding something to hook. But when you nail the route, outer paths are faster because the longer swings cover more distance per hook.
- Center axis (especially in the final descent) is the safest line for the endgame. The cylindrical layout of the final section means the middle has the most consistent anchor points. Drifting to the walls leaves you exposed to long falls with nothing to catch.
Avoid dead ends. They exist, especially in the deep section. A dead end costs you time turning around, and time is health when the Murderpede is tracking your average speed. Look for plant growth and light. If a corridor gets darker and barer as you go deeper into it, back out. The main path almost always has some vegetation or ambient glow marking the way.
Checkpoint Planning
The upper section has Kilns (checkpoints) at reasonable intervals. Use them. Sit at each one for a few seconds to listen for the Murderpede and plan your next route segment. These free pauses disappear in the mid and deep sections where checkpoint spacing gets brutal.
The final stretch from the last Kiln to the bottom has zero checkpoints. This is where most players hit a wall. The trick is to treat this section like a Nightmare Mode run in miniature: learn the route, know where every grapple point is, and execute cleanly. Do not try to improvise -- the margin for error is too thin.
Panic Management
The number one killer in Idols of Ash is not the Murderpede. It is your own panic response. When the creature gets close, your adrenaline spikes and your hands do stupid things: firing the hook at surfaces that are too far away, swinging in random directions, dropping when you should climb.
Here is what works: when you feel the panic rising, take one deliberate breath and do one deliberate action. Not three actions. One. Aim at a specific surface. Fire. Hold Shift. That is it. One clean move is worth more than three frantic ones.
After that single move, you are in a new position. Take another beat. Assess. Make your next move. Panic chains -- where one bad decision leads to three more -- are what kill runs. Breaking the chain with one calm action is how you survive.
If you are dying repeatedly to panic in the same section, stop trying to push through it. Go back to a Kiln, sit there, and just listen to the Murderpede sounds for a minute. Get used to the audio. Familiarity with the threat reduces panic more than any technique.